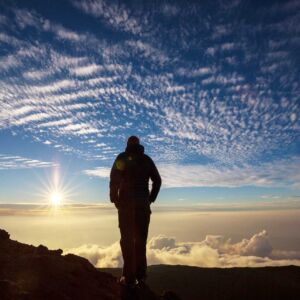
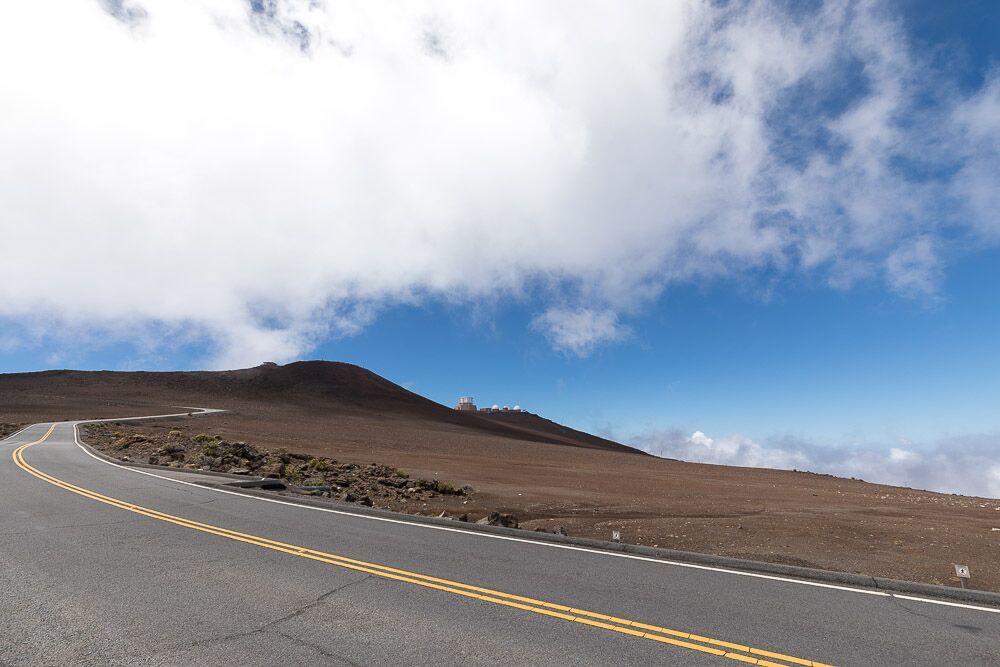
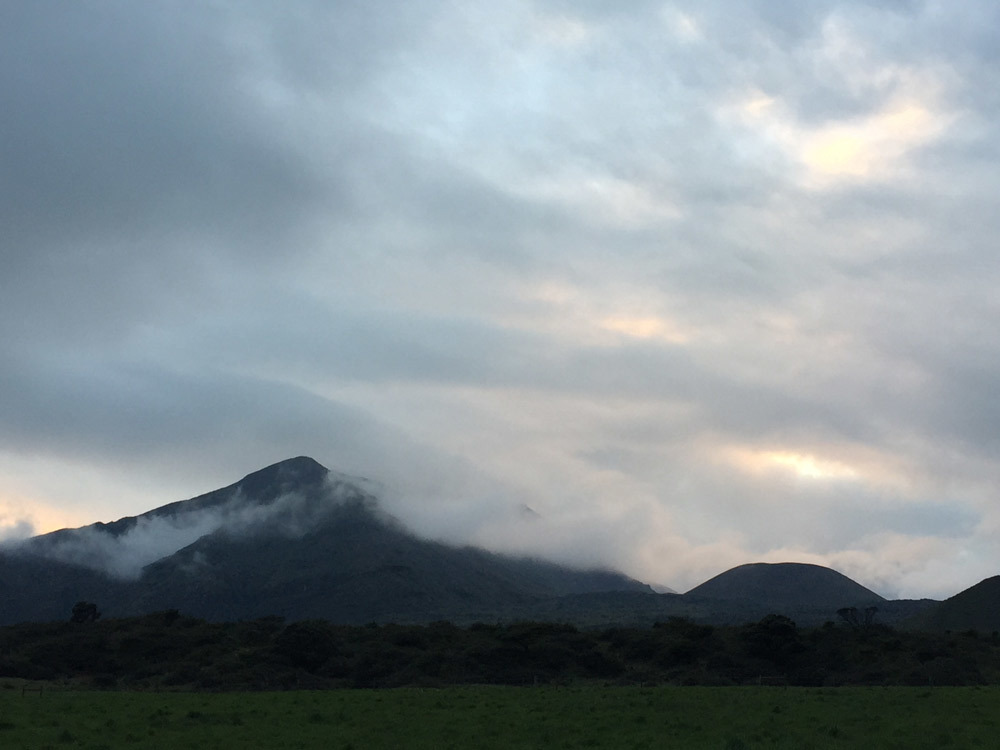
Haleakala Summit features some of the most incredible views in Hawaii. The road that leads up to the observation center is accessible for all visitors to come and take in the splendor of being on the top of a mountain above the clouds. For those who seek to experience the mountain’s beauty, the Haleakalā Sunrise or Sunset Tour provides a front-row seat to these otherworldly views from the comfort of a guided trip. But this day, we were interested in a more grand adventure which took us into the wilderness, camping in Haleakala Crater.
Day 1 started with a 6:00am flight out of Honolulu to Kahului, Maui. Then it was: 1. pick up the rental car, 2. quick shopping stop to grab some gear, and 3. a long curving drive up to Haleakala National Park. We checked in at the Visitor’s Center to receive our free camping permits. Securing the permits is an easy task as it is first come first serve basis and during the early spring months there are few backpackers on the trail.
We left our car at the Halemauʻu Trailhead and, after double-checking our packs, crossed Haleakalā Highway to the designated “hitchhiker” pull-off. It’s an established stop created by the National Park Service specifically for backpackers starting the crater traverse. Within about twenty minutes, a generous tourist family pulled over and offered us a ride up the road 6 miles to the summit parking lot near the Haleakalā Visitor Center, the official starting point of our descent into the crater.
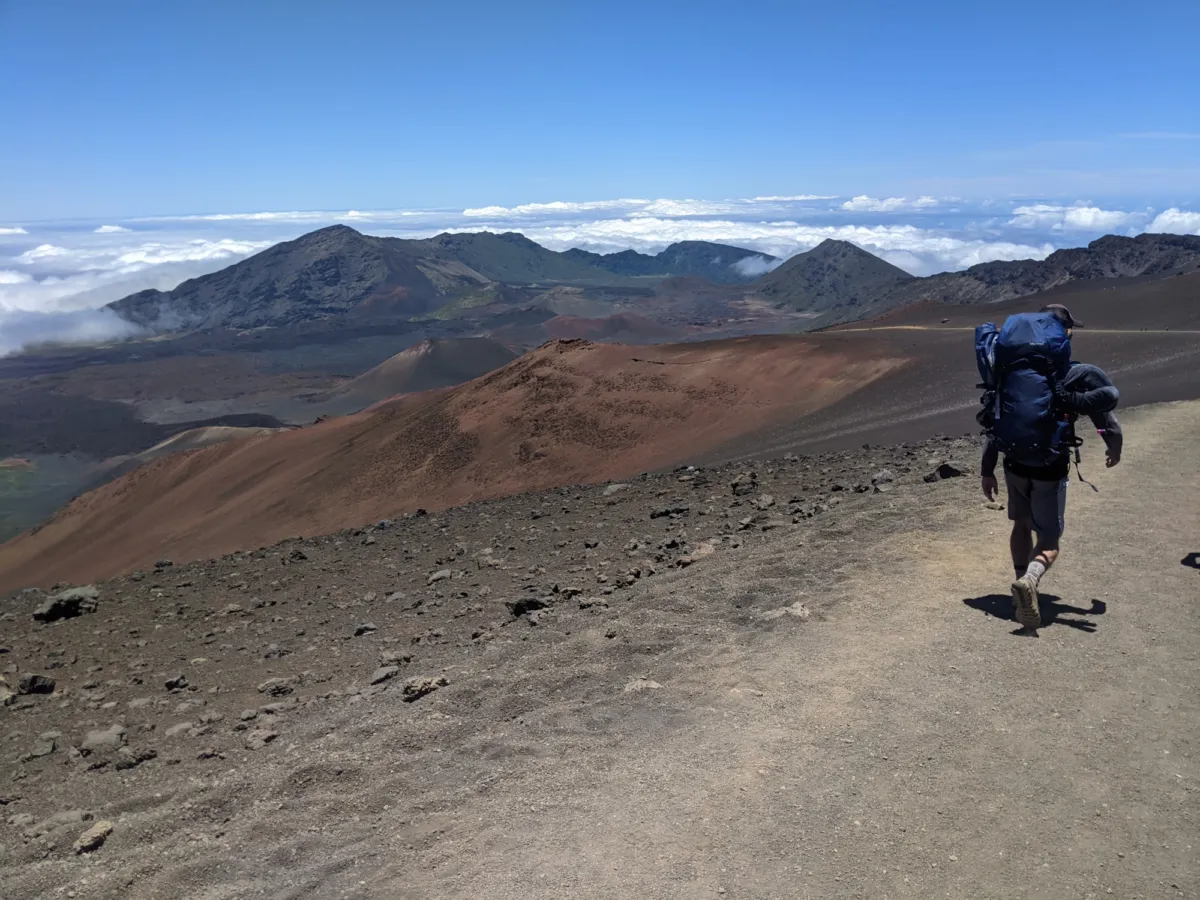
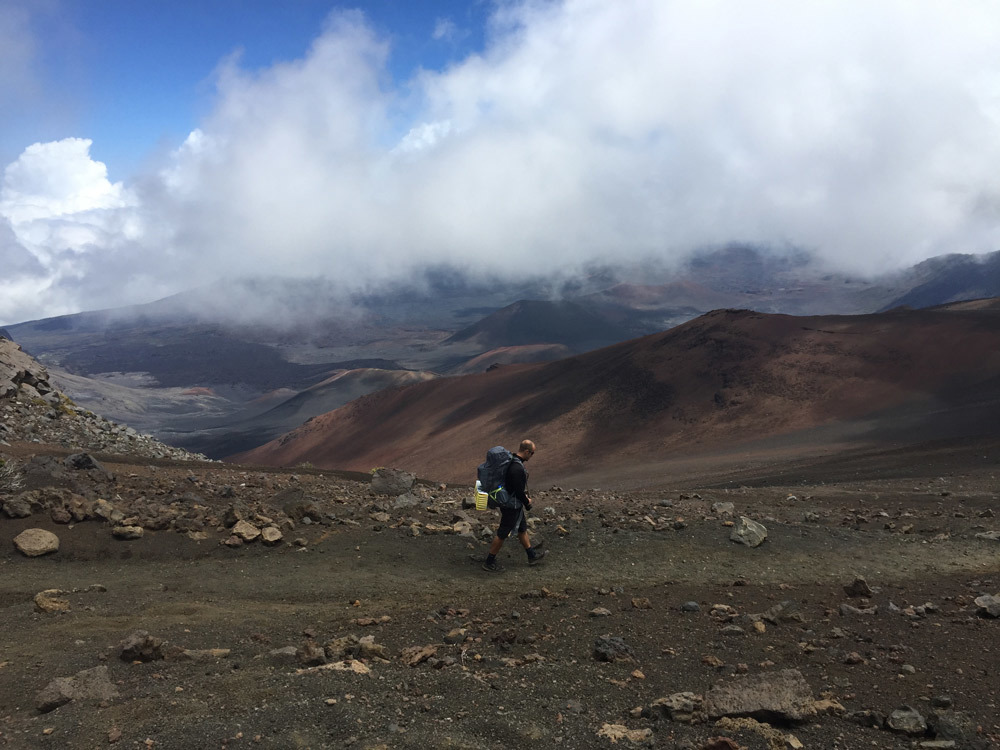
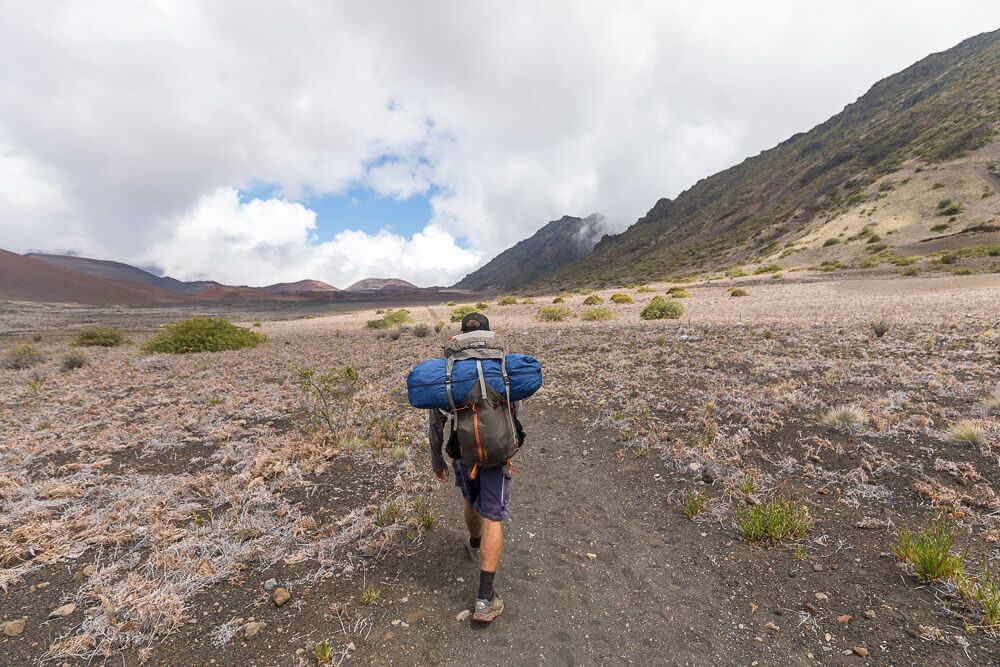
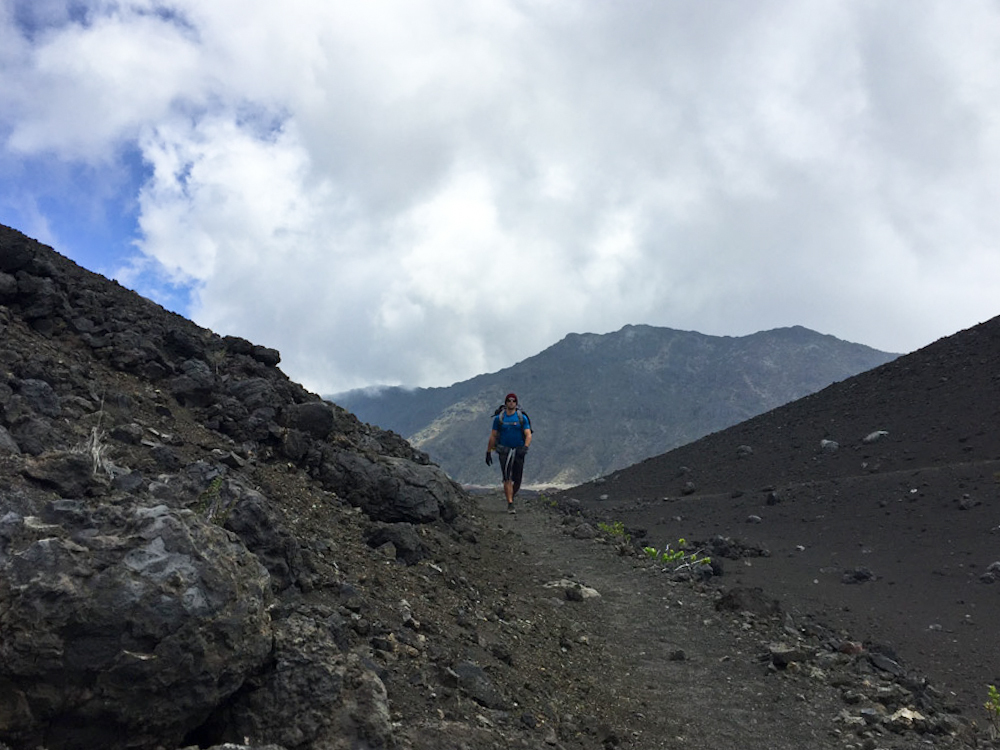
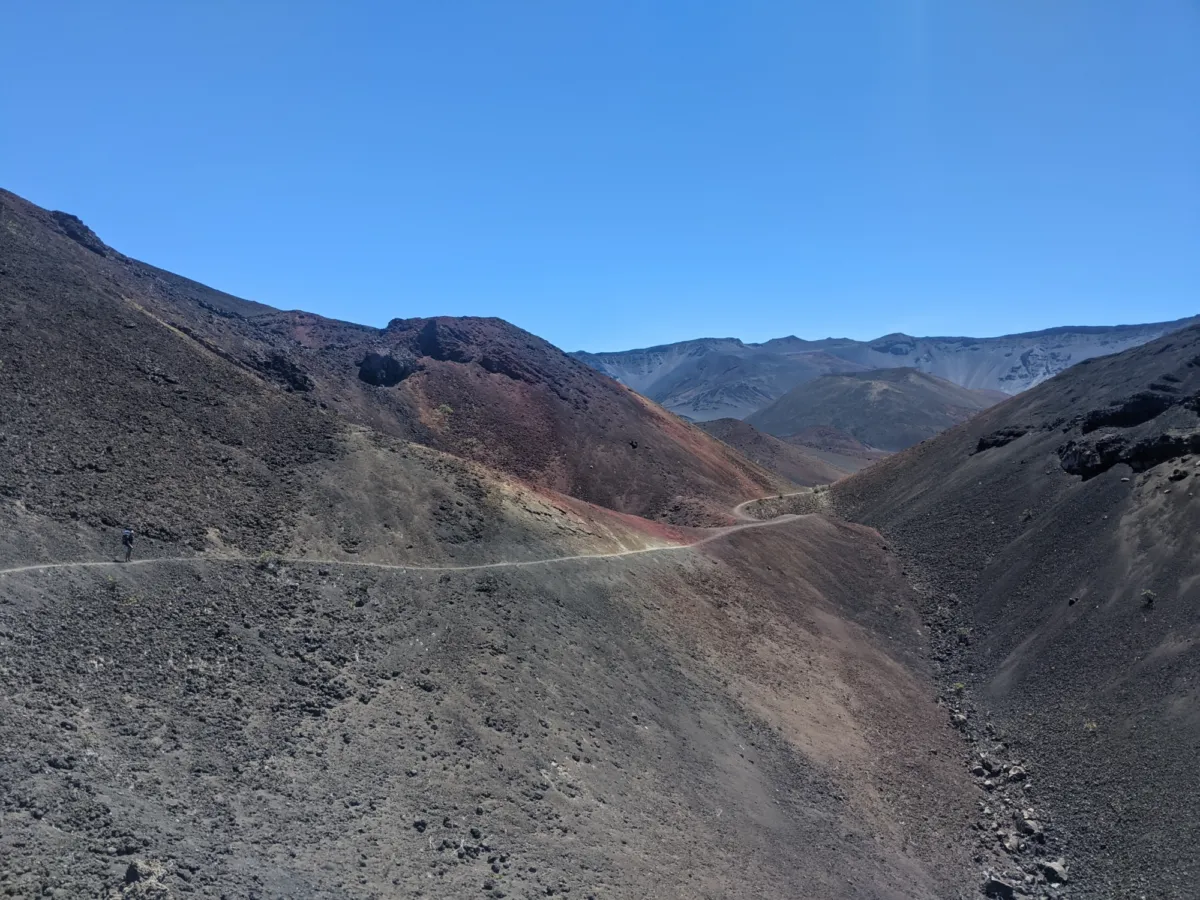
We descended the Keoneheʻeheʻe Trail (Sliding Sand Trail) 2000ft down from the ancient craters edge, a gentle slope taking us further and further into the black desert wilderness. Standing on the crater floor, in the absolute center of the ancient volcano, I stilled, awestruck as its massive walls surrounded me. Sean, my hiking buddy, and I couldn’t believe how easy it was.
The Ancient Hawaiian’s named Haleakala “House of the Sun”, because their demigod, Maui, had captured the sun, placing it here.
In 1830, Richard Cleveland gifted the Hawaiian people horses, which were not native to the islands. Prior to the introduction of these large animals, the Hawaiians hiked the entire 10,023ft of elevation to the summit before descending down the same trail we currently walked. Only a story as grand as a demigod’s imprisonment of the sun would fit the surreal beauty they were rewarded with in the crater.
Because we had the luxury to drive to the summit and to hike in with all modern backpacking gear, my friend Sean Michel, owner of Lumiere Visuals Hawaii, and I thought this adventure as easy recreation. But for the early Hawaiians it must of been more; it must have been a spiritual journey. I try to imagine what it must have been like for those earliest people to walk the expansive crater. Those thoughts continued to run through my mind during the 3-day backpacking trip.
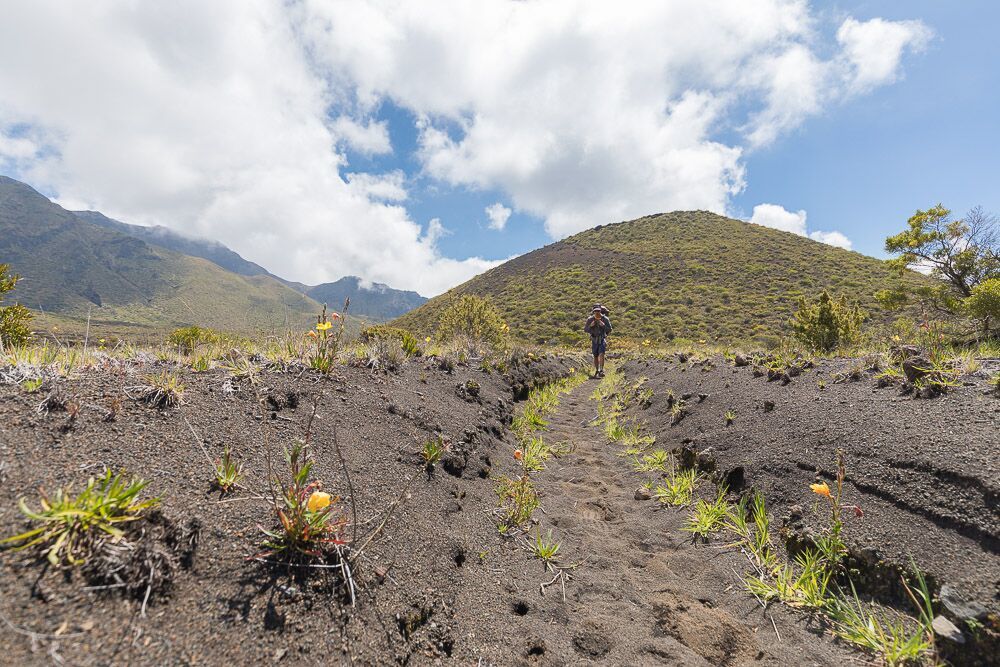
And then suddenly, we were on Mars….
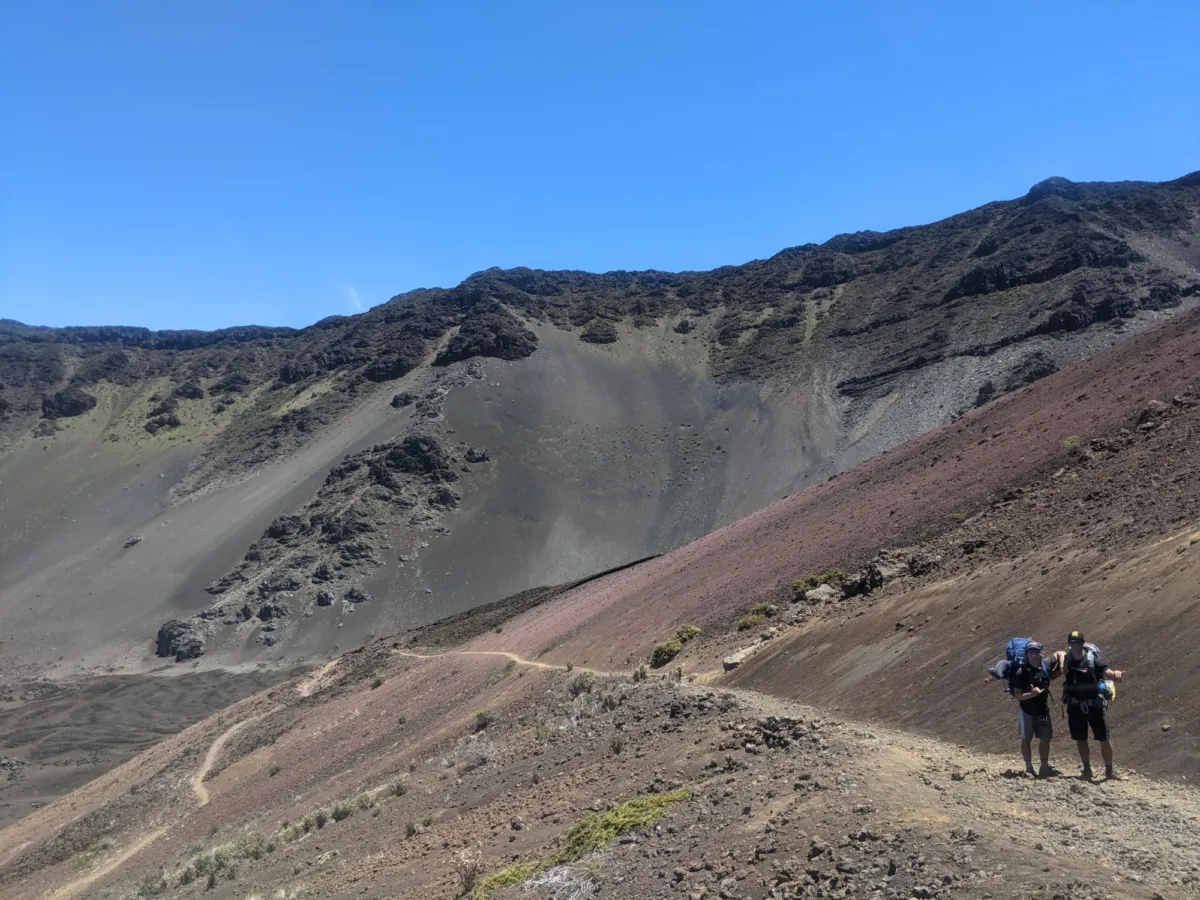
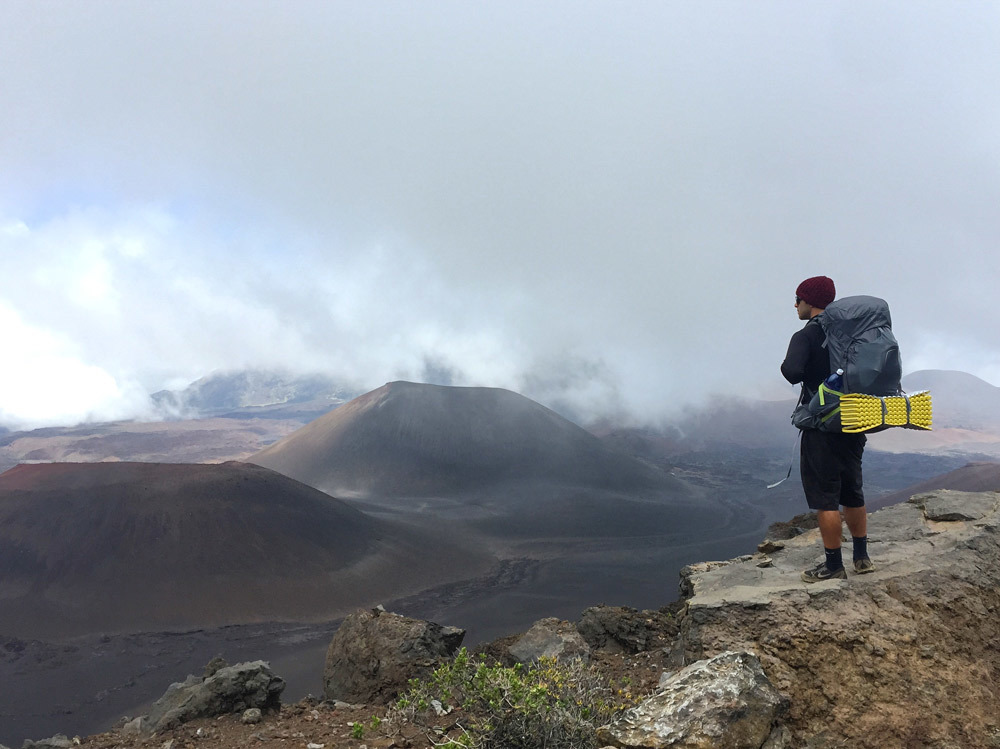
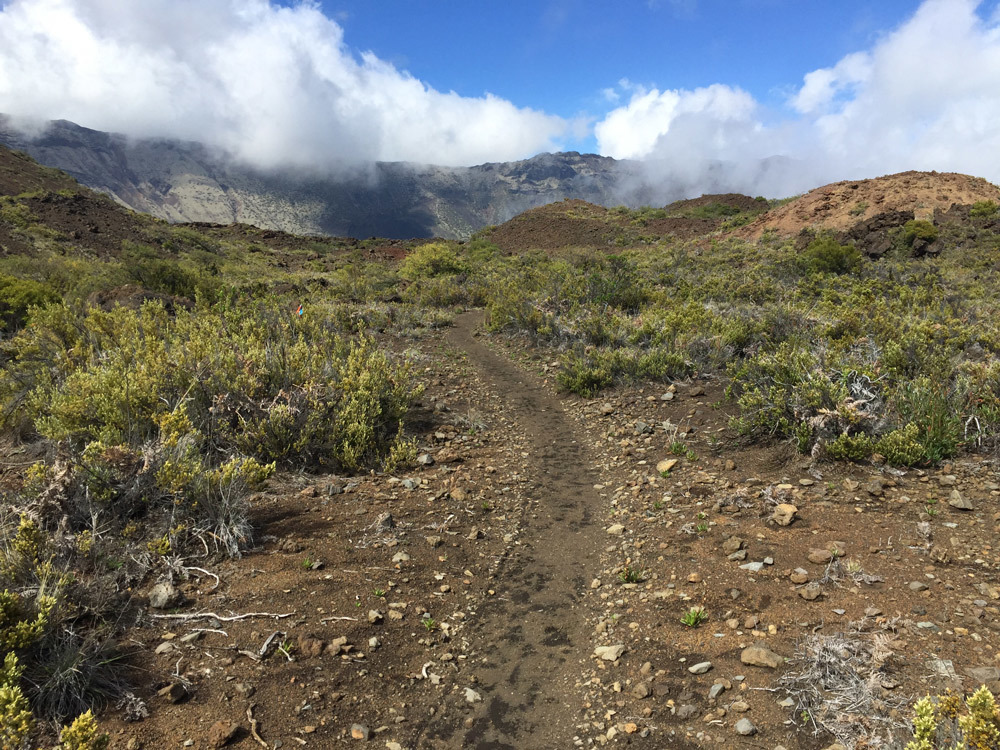
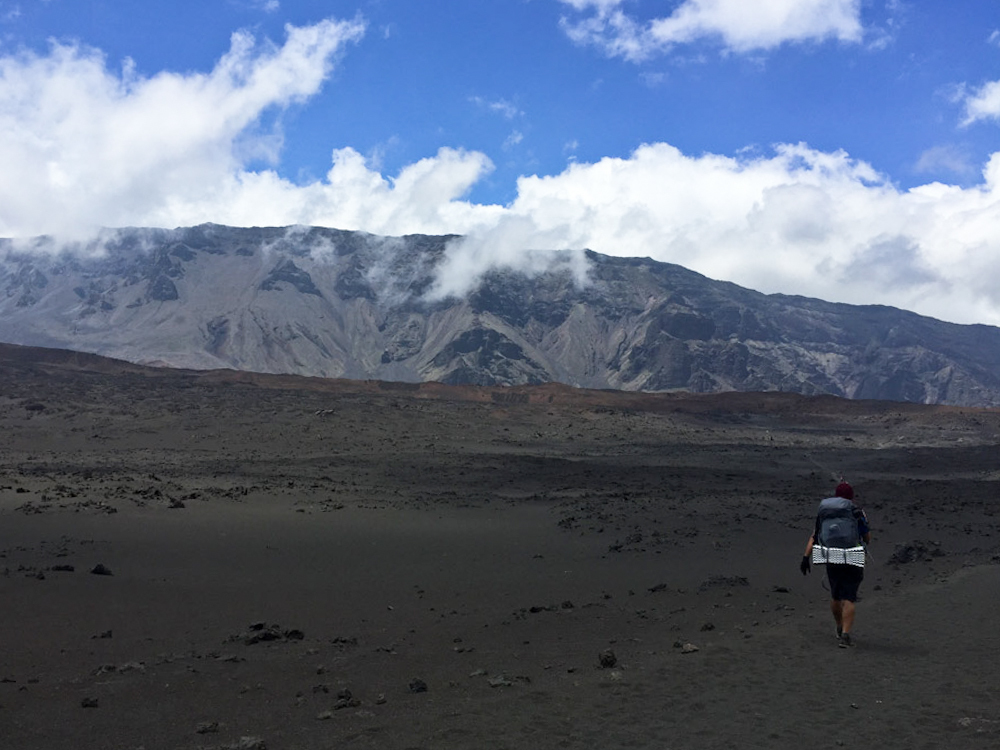
Or at least it felt like Mars. The rocks were hues of red and black. The terrain lay flat and desert like. Cinder cone hills in the distance grew out of the earth. Our continued comments of the difference between this and any other landscape in our experience became repetitive. For the next few hours, we settled into a quiet calm as we left the black desert and entered a bushland of shrubs. For most visitors, this point marks about as far as you’d want to go on a day hike and for those who’d rather experience these surreal landscapes without the long trek, the Private Haleakalā Summit Tour offers a comfortable way to explore this same region with a knowledgeable local guide.
Special thanks to Lumière Visuals Hawaii for providing many of the photos during this epic journey.
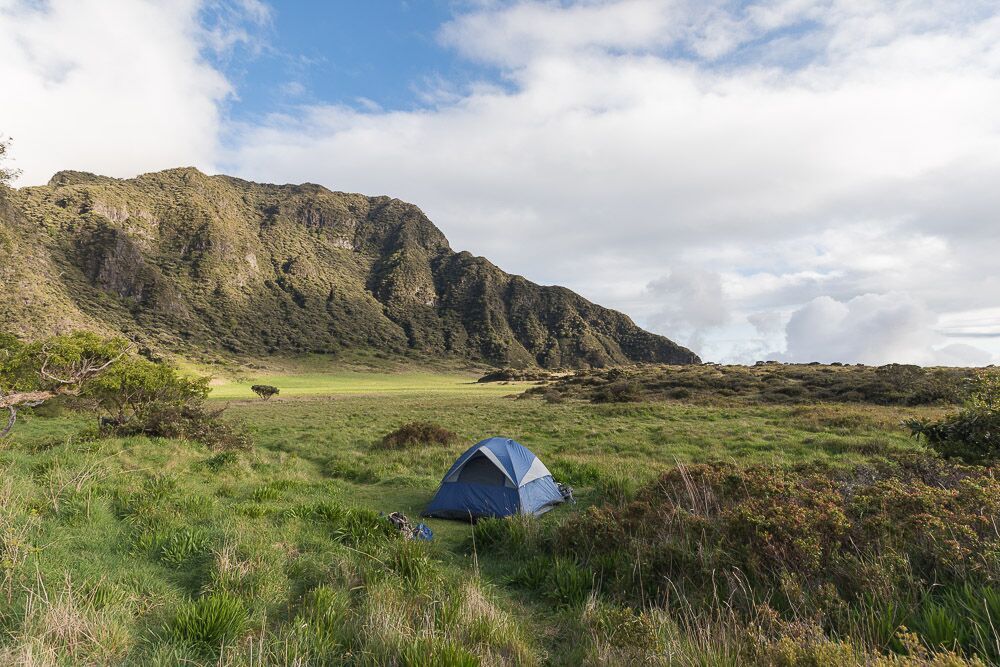
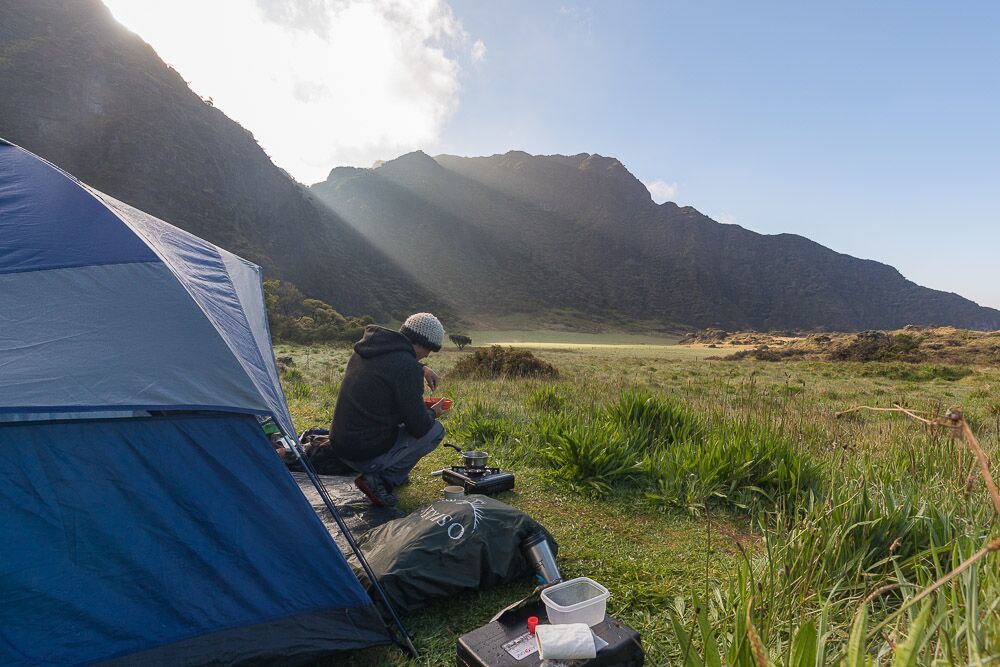
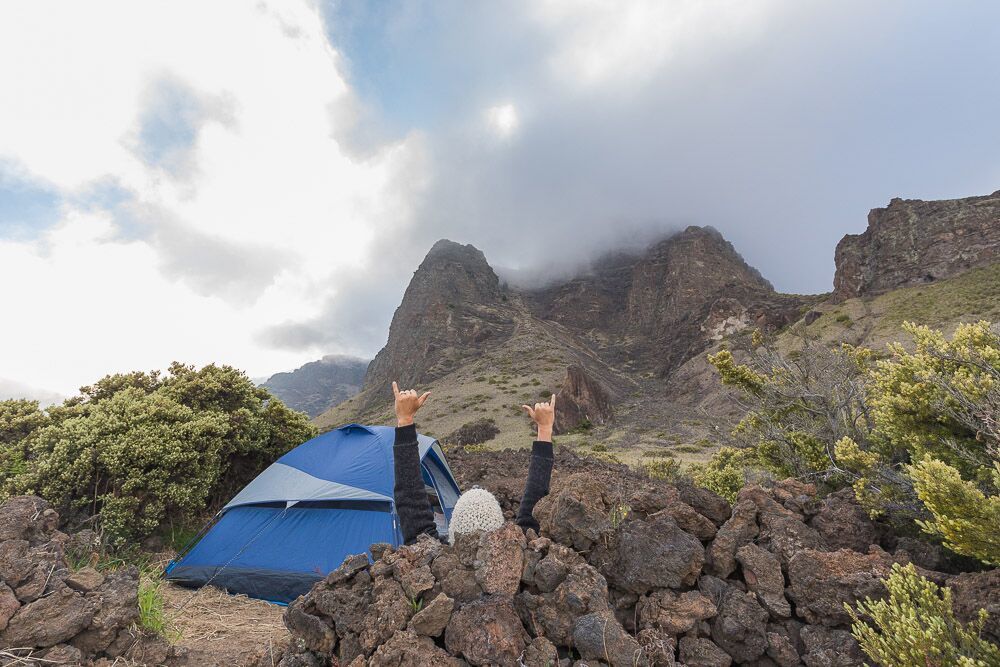
An hour before sunset we arrived at our first camp site, named Paliku. Paliku is set against the far edge of the crater on a rolling meadow of green grass. A welcomed change from the windswept black plainness we had crossed.
Compared to other backpacking trips we experienced, hoofing all our food, water, and gear along uneven terrain, we again rejoiced at the utter easiness of the flat crater trail. We celebrated the end of the Day 1 with a warm meal and drink around our tent. No fires are allowed in Haleakala Crater so we relied on the moon and stars to captivate us before sleep.
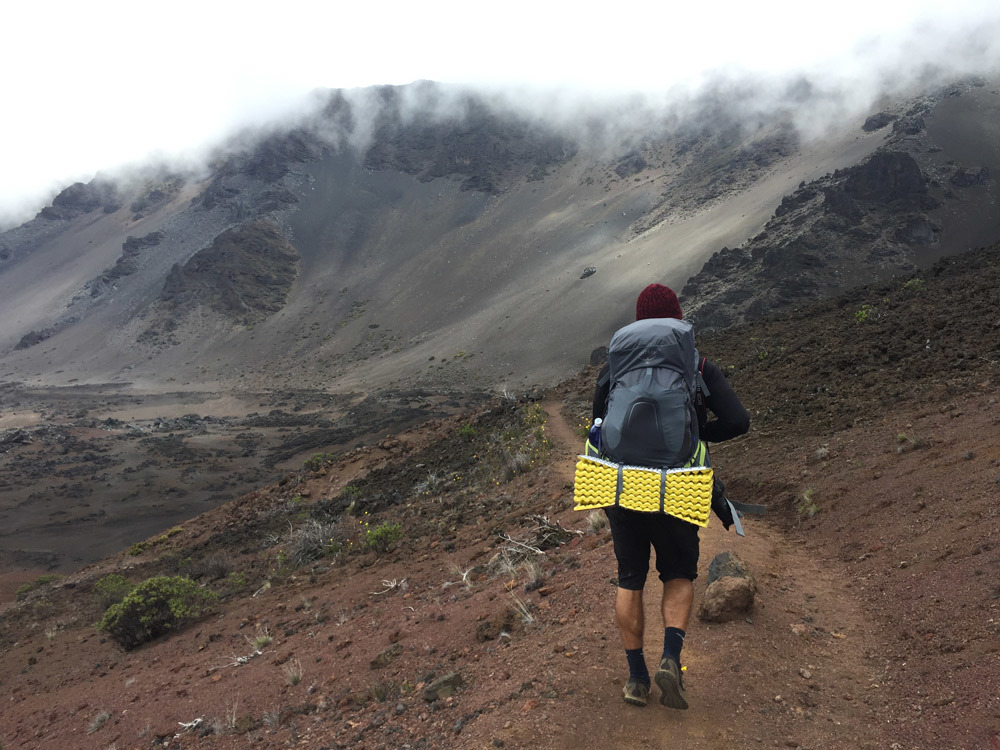
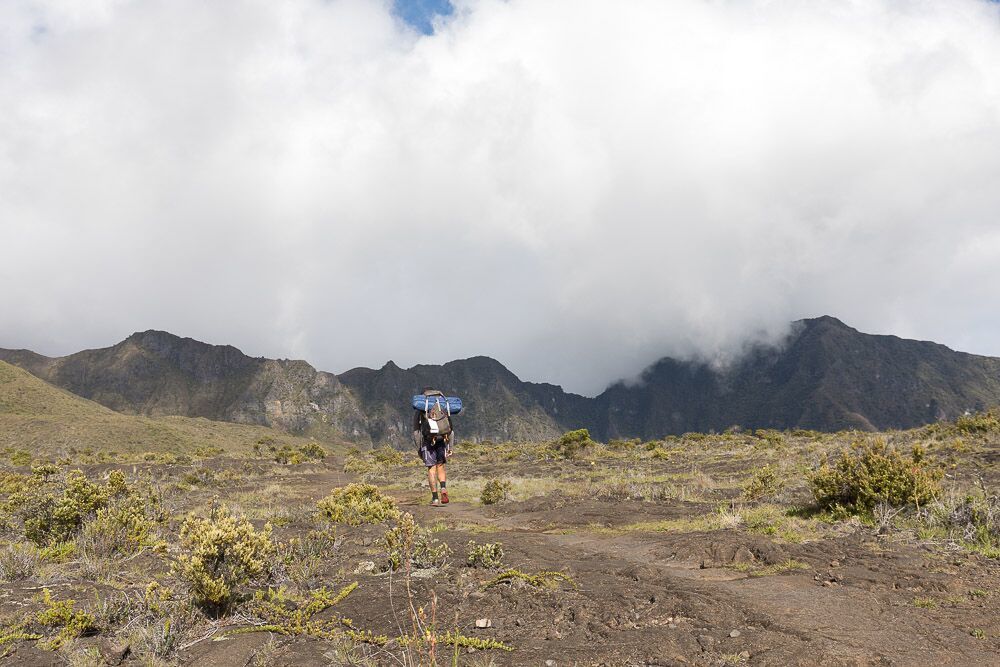
Day 2. Shortly after sunrise, we broke camp heading to our next camp site on the opposite end of the crater. Following a different trail, but into similar desert terrain as the previous day, we crossed the crater again.
One of our favorite sections of the entire trail was the stretch behind Halāli‘i, known as Pele’s Paint Pot. This surreal landscape looks as if Hawaiʻi’s volcano goddess herself spilled her palette across the crater floor. The terrain shifts suddenly from deep charcoal cinder to streaks of red, orange, yellow, and purple mineral-rich ash and oxidized rock layered by centuries of eruptions. It’s one of the few places in Hawaiʻi where you can actually see the island’s volcanic history written in color. The contrast between the barren Martian slopes and these vibrant patches of earth makes this section feel otherworldly, quiet, raw, and unmistakably alive, with the energy of Haleakalā’s past.
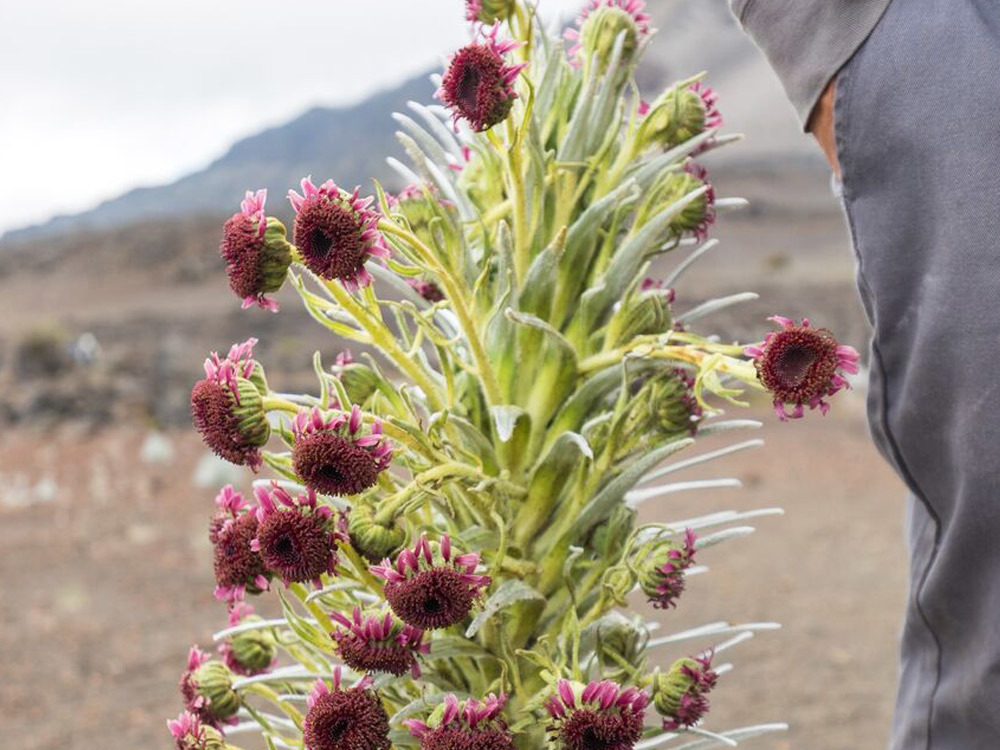
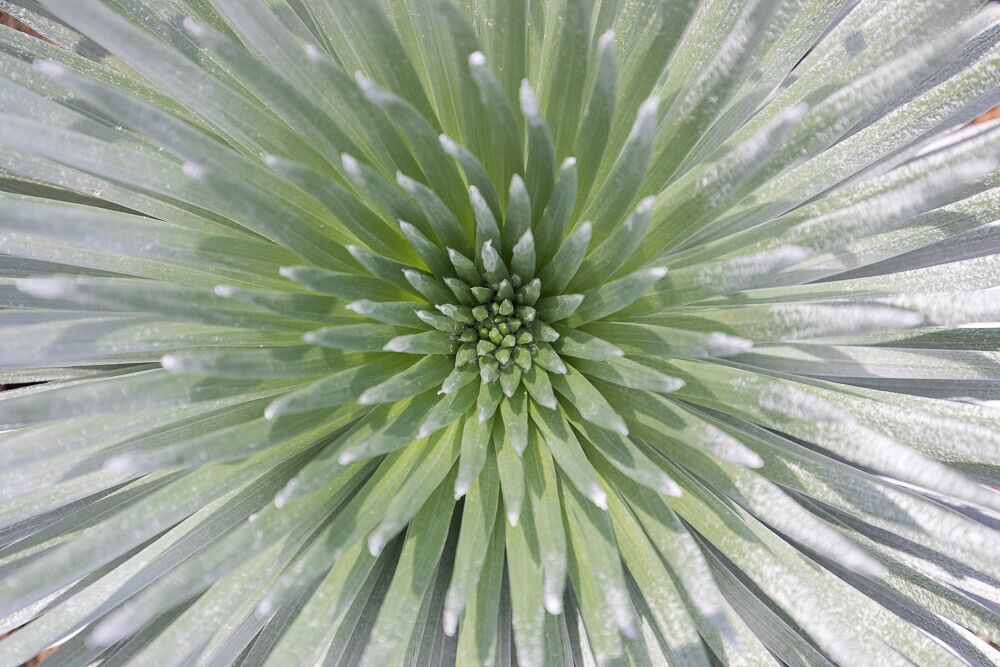
During our trek from Paliku to Holua Campsite we came across multiple silverswords on the Silversword Loop trail. The silversword is an incredibly unique Native Hawaiian plant that can only be found on the summits and in the crater of Haleakala. Their bright silver fleshy leaves are unlike any texture I have ever seen. We even had the unique pleasure of seeing them in early bloom which typically happens during a short time period from mid-summer to autumn. These plants live anywhere from 3 to 90 years.
The flowers of the Silversword only bloom once, creating a beautiful flowering stalk that scatters the drying seeds in the wind. The plant will die soon afterward.
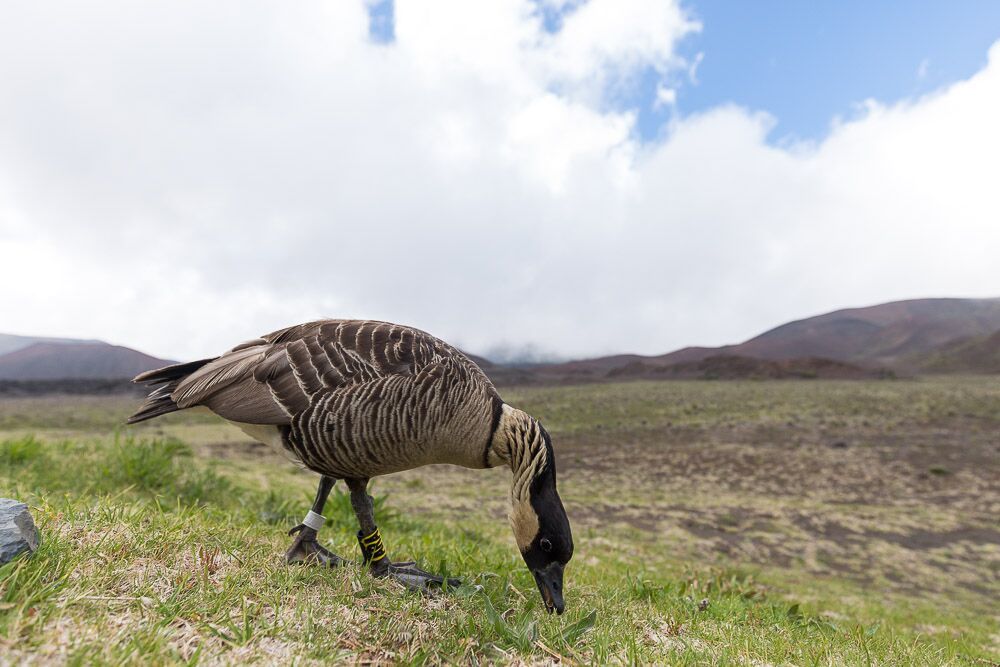
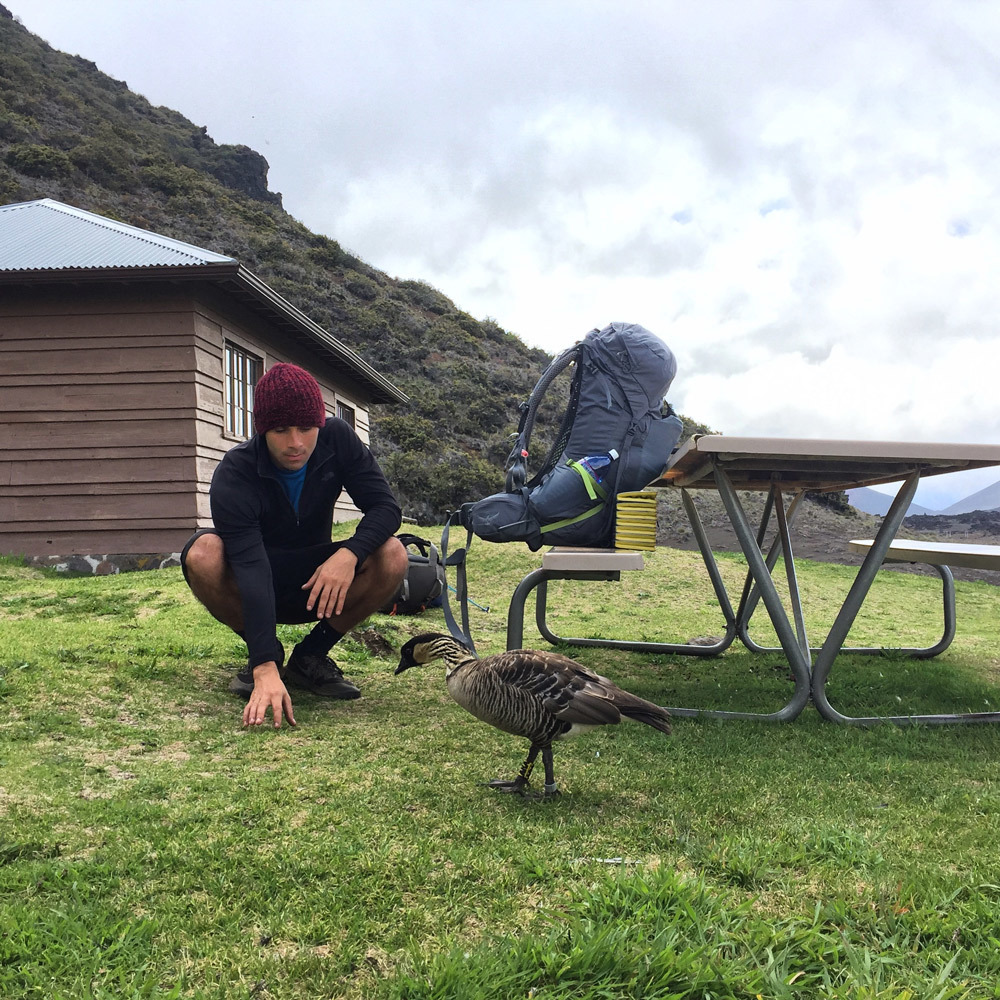
We also came across the state bird of Hawaii, who is endemic to the Hawaiian Islands, the Nene. The nene is believed to have evolved from the Canadian Goose and to of had arrived to the Hawaiian Islands about 500,000 years ago, shortly after their creation.
And although the Hawaiian nene came to visit us, we did not feed it or touch it. However, we did see how close it would come to us in order to enjoy the details in her feathers. Needless to say, this nene wasn't shy.
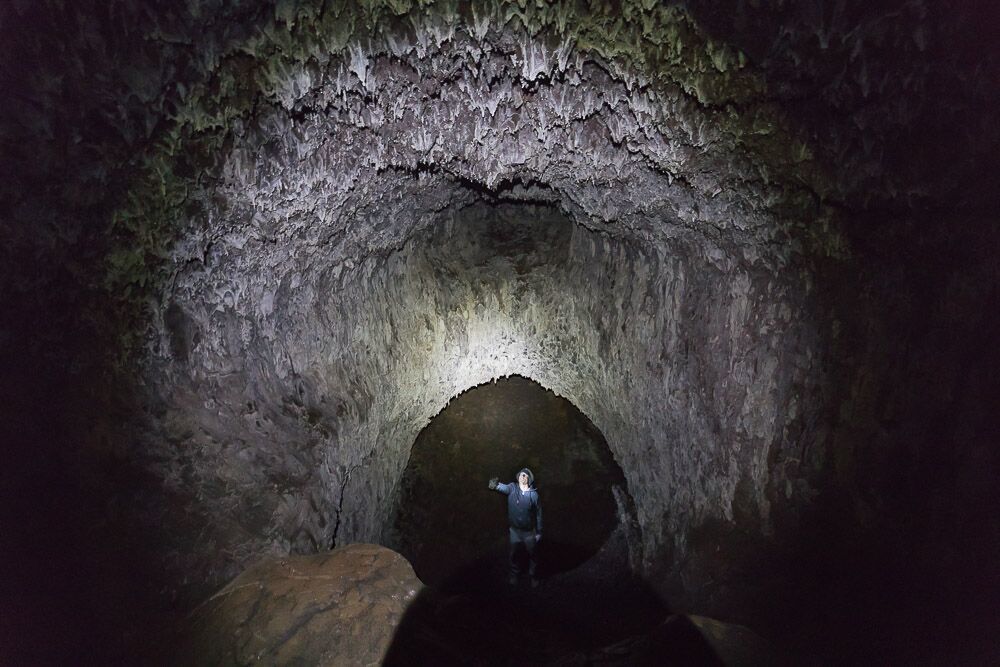
Towards the end of our day we met a local Maui hiker who told us about some “secret” lava tubes. you can enter. He gave us crude directions of their location. Both my partner, Sean, and I were tired but determined. We set up camp at Holua Campsite and headed back up the trail.
After much searching we found the caves. What started as a small manhole sized entrance soon turned into giant 30ft x 30ft wide caverns with razor sharp volcanic rock walls.
We followed these caves for over a quarter mile in complete darkness other then the light from our headlamps. Then we spotted light shining through the ceiling. Climbing out we found ourselves in the center of a tremendous field of rugged and sharp lava rocks. This is where we watched the sunset for Day 2.
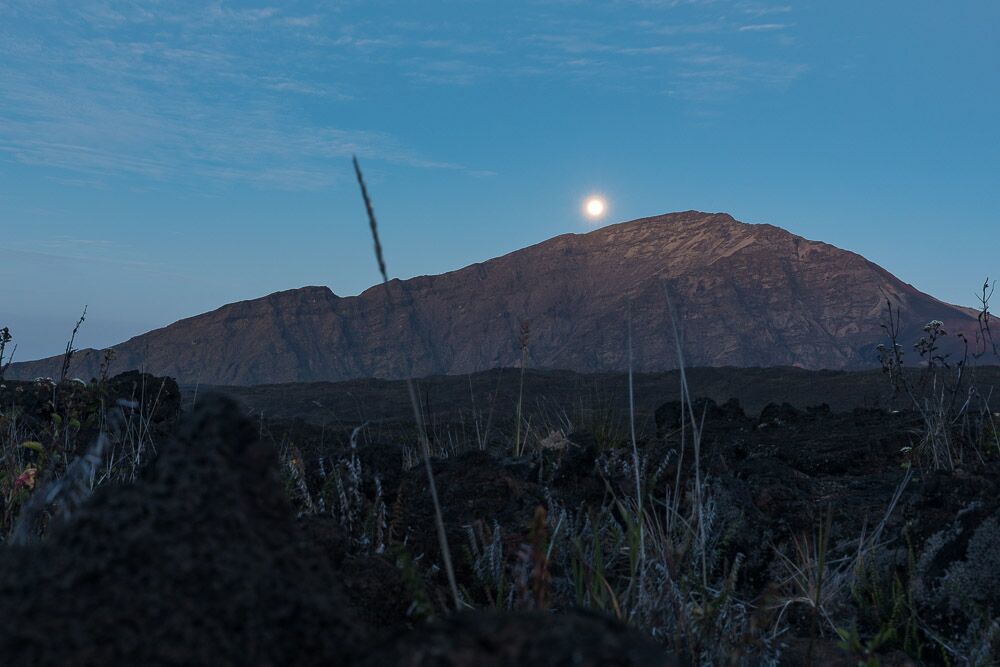
The temperature quickly dropped while the full moon rose above the crater walls.
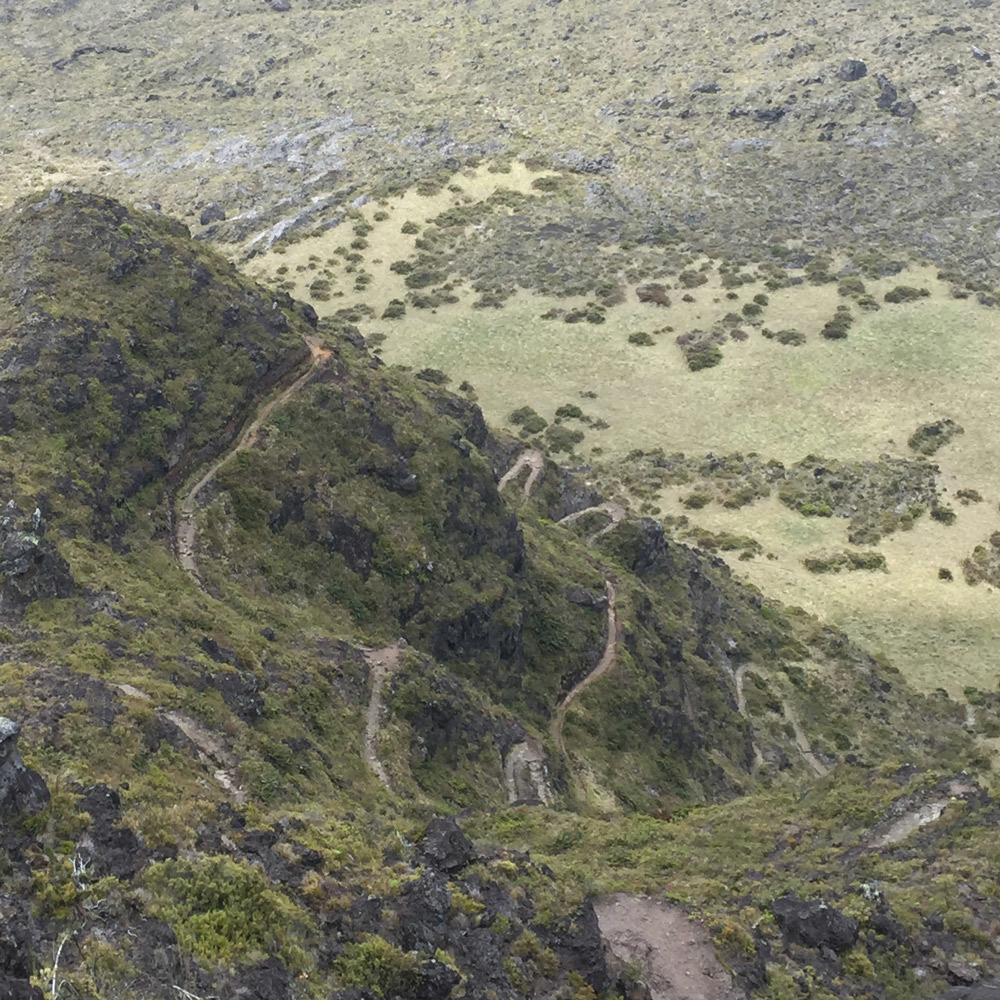
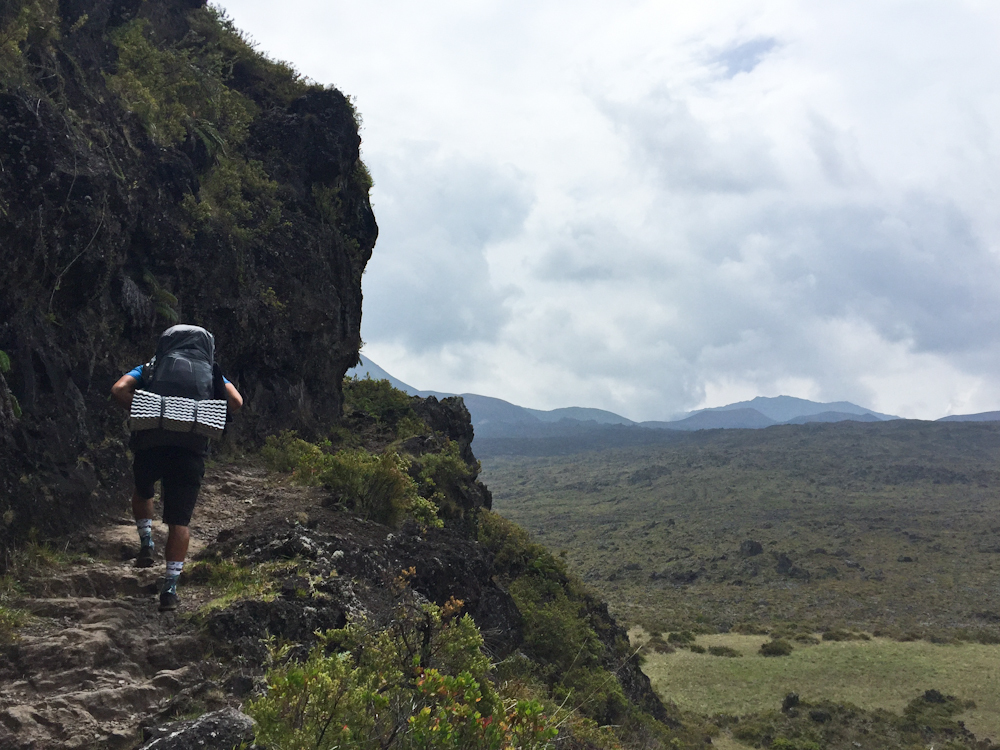
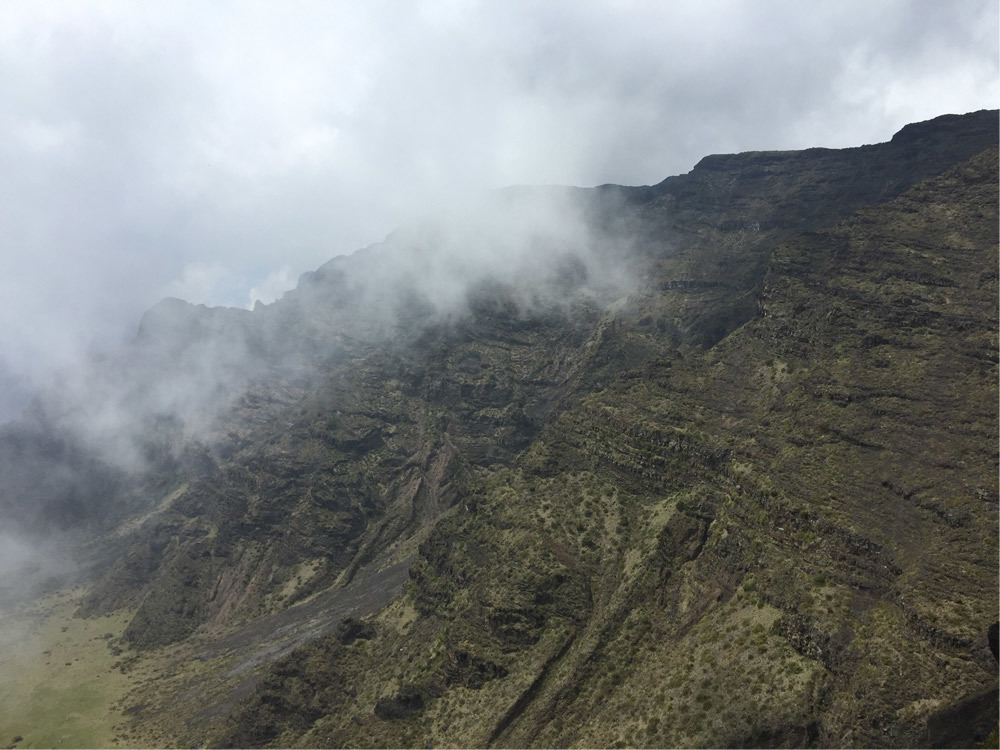
Day 3. After a slow morning of packing up camp, sipping instant coffee, and finishing the remainder of our food we headed out. As we approached the crater walls, on the opposite end of where we had started our journey, the trail out slowly became visible. As we got closer the trail began to tower over us. Dozens of steep rugged switchbacks lay before us, each one climbing higher into the misty clouds.
The incline was punishing and relentless. The steep drops off the side of the switchbacks fell for hundreds of feet. We stopped for multiple breaks, wiping the sweat off our brow, and gazing back at the view of Haleakala. Mentally challenged by the slow ascension back to the stresses of daily life. Physically challenged as our legs grew exhausted with each step upward. This was the hard work that we had taken for granted earlier in the trip.
Just as we reached our breaking point the trail crested. Our mood changed, becoming grateful for the challenge, knowing we had reached and succeeded our goal. Saying “Thank you” we stepped out of the crater, ready to rejoin the world beyond its rim.
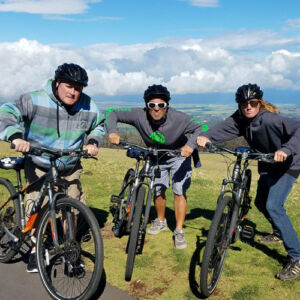
On the drive back down, we took our time, pulling over at overlooks and watching cyclists coast through the switchbacks with the wind at their backs. For anyone who wants to experience that same thrilling descent without the uphill struggle, the Haleakalā Downhill Bike Tour offers an unforgettable ride from the summit to the sea ,all gravity, scenery, and pure Hawaiian freedom.
Suggested Pack List:
Wilderness Camping Permits
Framed Backpack
Lightweight Tent
Cold Weather Sleeping Bag
Sleeping Mat
Gloves and Handwarmers
Iodine Tablets or Water Filter
Dress in Layers (T-shirt, Sweatshirt, Torrent Shell)